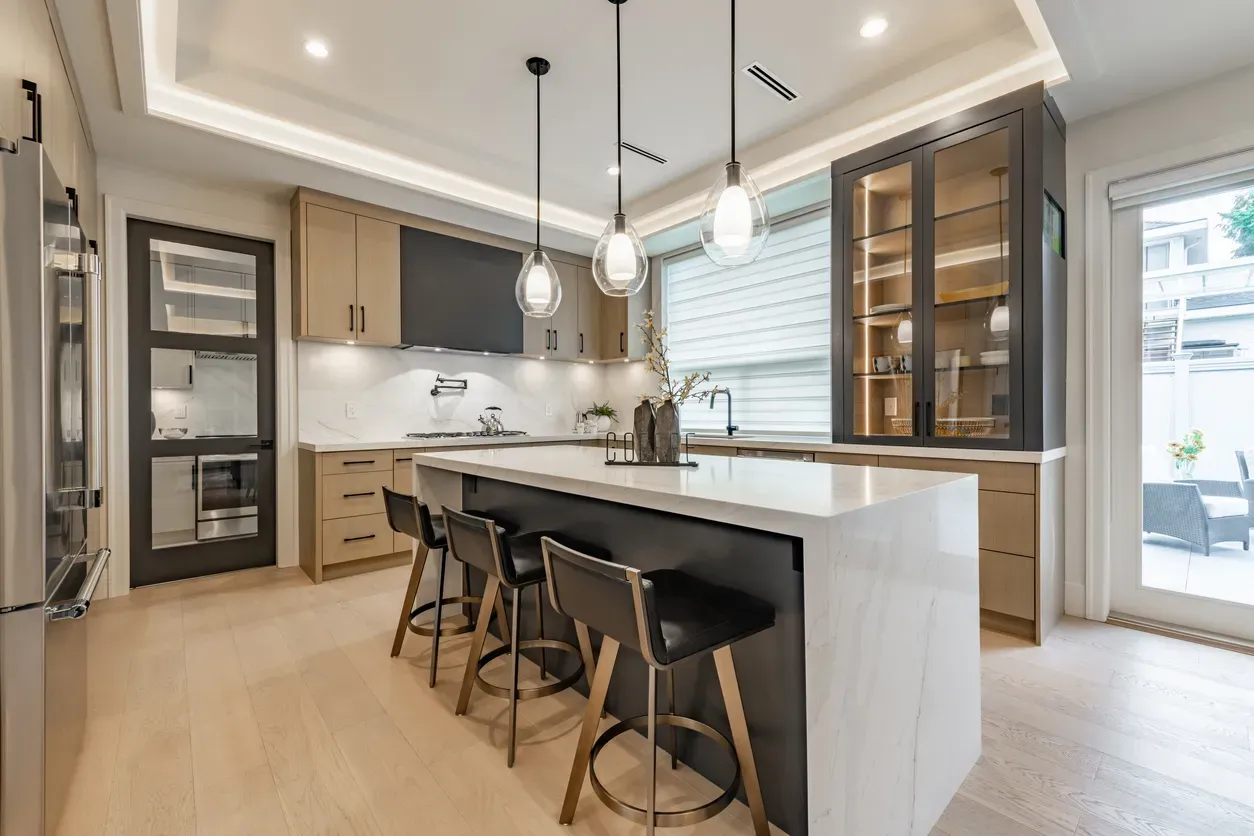
Lighting is the cheapest thing to get right during a kitchen renovation and the most expensive to fix after drywall. Here is the three-layer plan we rough in on every GTA kitchen.
The Three Layers Every Kitchen Lighting Plan Needs
A kitchen that feels right at 7 a.m. and 9 p.m. is always running three layers of light. Ambient light fills the room — usually pot lights on the ceiling. Task light lands on the work surfaces — under-cabinet strips and a fixture over the sink. Accent light gives the room its character — pendants over the island, maybe a picture light or lit glass cabinet.
Most GTA kitchens we open up have exactly one layer: a single ceiling box in the middle of the room. That was the standard in the 1960s and 70s splits of Scarborough and North York, and it survived every cosmetic reno since. The result is a kitchen where you stand at the counter working in your own shadow.
Layers matter more here than in most climates. From November to March, GTA homeowners cook breakfast and dinner in the dark, so the kitchen's artificial light does the work a window does in July. Plan the lighting with the cabinet drawings — not after — because every layer depends on where the cabinets, island and sink actually sit.
Pot Lights: Spacing, Counts and What They Cost in 2026
Pot lights are the ambient layer, and the mistakes are always the same: too few, too central, or spaced by guesswork. Our working rules from twenty years of GTA kitchens: keep recessed lights roughly 4 feet apart on an 8-foot ceiling, run them about 24 to 30 inches off the wall so the beam washes the counter edge instead of the back of your head, and light the walkways separately from the perimeter. A typical 10-by-12 kitchen lands at six to eight pot lights; an open-concept kitchen and dining space often needs a dozen or more, switched in groups.
On cost: pot lights, new circuits and code updates live inside the electrical line of a kitchen renovation, which typically runs $1,000 to $7,000 in the GTA as of 2026 depending on how much rewiring the house needs. Licensed electricians in and around Toronto charge roughly $95 to $150 per hour. Every new circuit also requires an ESA notification — here is how an ESA electrical permit differs from a building permit — with fees usually in the $90 to $300 range and normally built into the electrician's quote.
With the ceiling already open during a renovation, adding two more pot lights is trivial. Adding them a year later means cutting finished drywall and fishing wire. Err generous.
Under-Cabinet Lighting: Wire It During the Reno
Under-cabinet lighting is the task layer, and it is the difference between a kitchen that photographs well and a kitchen you can actually chop vegetables in at night. LED strips or slim bars mounted at the front edge of the upper cabinets throw light exactly where your hands are.
The critical decision is hardwired versus plug-in, and the renovation is the moment to choose. Hardwired strips run off concealed low-voltage drivers with a proper wall switch or dimmer — no cords dangling to the backsplash outlets, no wall warts. That only works if the electrician roughs in the feed before the drywall and backsplash go on, which is why we put under-cabinet wiring on the electrical plan at the same time as the pot lights.
Two details worth insisting on. First, match colour temperature across every layer — mixing cool-white strips with warm-white pot lights makes new quartz look grey and dinner look worse. Warm white throughout is the safe call in most homes. Second, coordinate the strip location with the backsplash height and outlet positions so the hardware stays hidden behind the cabinet's front rail.
Island Pendants and Statement Fixtures
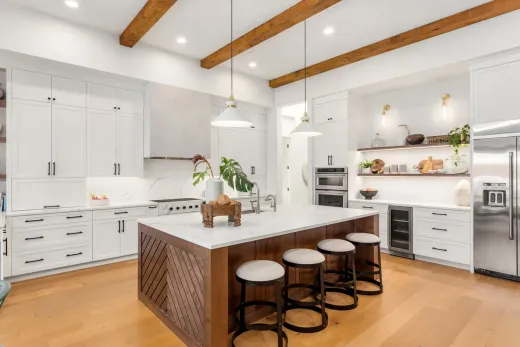
Pendants over the island are the one place the lighting plan is allowed to show off. The practical rules still apply: hang them so the bottom of the fixture sits roughly 30 to 36 inches above the counter, centre the set on the island rather than the room, and size them to the slab — two large or three medium pendants over a typical 7-to-8-foot island, one strong fixture over a small one.
Choose the pendants after the island dimensions are final, not before. When a layout shifts 6 inches in design development — common once appliance specs land — a pre-purchased row of pendants ends up off-centre over the seating instead of the working surface. Rough-in boxes are cheap to move on open ceilings and miserable to move later.
If the island might one day host homework and laptops as much as prep, put the pendants on their own dimmer so the island can go from task-bright to dinner-party-low without touching the rest of the room. And if you are still deciding whether the island itself fits, sort that first — the lighting follows the island decision, never the other way around.
Switching, Dimmers and Smart Controls
A good lighting plan dies at a bad switch layout. The principle: every layer gets its own switch, and every switch gets a dimmer. Pot lights, under-cabinet strips, pendants and the sink light should never share a circuit leg, because the whole point of layers is running them at different levels — bright everything for cooking, island pendants alone at 30 percent for the evening.
In an open-concept space, put three-way switches at every entry point. The classic GTA renovation miss is opening a kitchen to the living room and leaving the only kitchen switches at the old doorway location, so you cross a dark room to turn anything on.
Smart switches are worth considering during a renovation because the wiring cost is the same — you are paying the difference in hardware, not labour. They earn their keep for scheduled evening scenes and for controlling awkwardly placed loads without rewiring. But smart bulbs in dumb switches are a trap in a kitchen; the first person to flip the wall switch takes the whole system offline. If the budget forces a choice, spend on dimmers everywhere and skip the smarts — you can add intelligence later, but only if the switching is right.
The Lighting Mistakes We Fix Most Often
The same handful of problems shows up in almost every kitchen we are asked to correct:
- A single grid of pot lights and no task layer, leaving every counter in shadow.
- Pot lights centred in the room instead of over the counters.
- No fixture over the sink — the most-used workstation in the kitchen.
- One switch for everything, no dimmers.
- Lighting chosen after the cabinets were ordered, so nothing lines up.
Every one of these is cheap to prevent during rough-in and expensive to retrofit through finished drywall and tile. That is the real argument for planning lighting as part of the renovation rather than as decoration afterward. Note that lighting work rarely changes your permit picture — a kitchen refresh needs a building permit only when walls or plumbing move, while new circuits need an ESA notification regardless.
If you are budgeting a full project, lighting sits inside the electrical line of what a kitchen renovation costs in Toronto — full renovations start around $25,000 and typically run $25,000 to $80,000 over 4 to 6 weeks. Our kitchen renovation team builds the lighting plan into the cabinet drawings on every project, so the layers are decided before the first wire is pulled.
Ready to start your renovation?
Our team is here to help you bring your vision to life. Get a free, no-obligation quote today.
Get Free QuoteFrequently Asked Questions
Clear answers to the questions Ontario homeowners ask most.