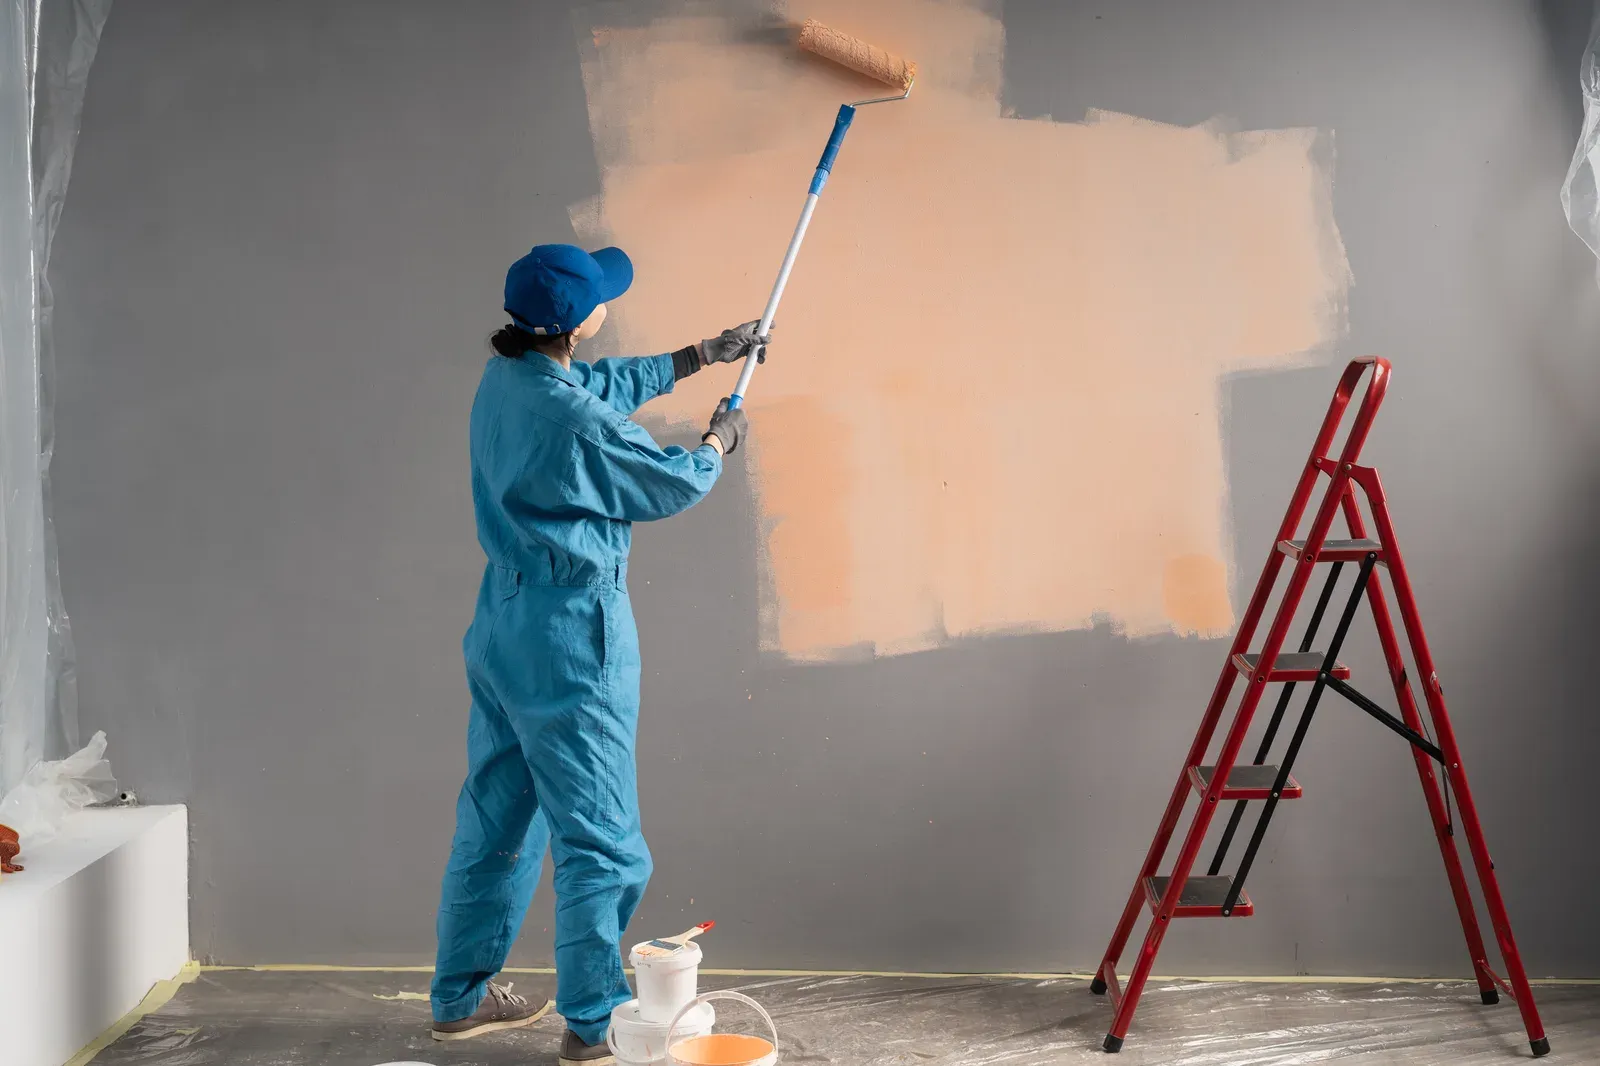
Bathrooms and kitchens destroy ordinary paint faster than any other rooms. The fix is partly the can you buy — and partly the fan you run. Here is how we spec paint for wet rooms in GTA homes.
Why Bathrooms and Kitchens Eat Ordinary Paint
The short answer: use a dedicated kitchen-and-bath formula or a top-line scrubbable acrylic, in satin or semi-gloss for most surfaces — and make sure the exhaust fan actually works, because no paint survives a bathroom that never dries out.
Wet rooms attack paint three ways. Steam condenses on walls and ceilings every time someone showers, and repeated wet-dry cycles cause cheap paint to soften, streak, and eventually peel — you have seen the tell-tale surfactant leaching, those brown or glossy drips that appear on bathroom walls after a hot shower. Kitchens add airborne grease that bonds to the surface, plus splatter zones behind the sink and stove that need regular scrubbing. And both rooms get cleaned harder and more often than any bedroom, which burnishes or wears through builder-grade flat paint in a couple of years.
GTA conditions raise the stakes. Our humid summers keep indoor moisture high for months, and in winter, tightly sealed houses concentrate shower steam indoors instead of venting it. Small bathrooms in older Toronto housing — wartime East York homes, pre-1960 Scarborough bungalows — often have marginal or missing exhaust fans, so their walls live wet. That is why the paint conversation in wet rooms is really two conversations: the product on the wall, and the ventilation that protects it.
Moisture-Resistant Formulas: What You're Actually Paying For
Modern kitchen-and-bath paints differ from ordinary wall paint in three useful ways. They are formulated to resist surfactant leaching and streaking under condensation. They carry mildewcides that slow — not prevent — mould growth on the paint film. And they cure to a harder, more scrubbable surface that tolerates cleaning products without burnishing.
Premium moisture-resistant lines cost more per can than builder-grade paint, but paint is the cheapest material in the room. On a renovation where the tile, vanity, and glass run into five figures, stepping down on the one product that has to survive daily steam is a false economy. For context, professional painters price kitchen walls at $700–$1,400 as a standalone job as of 2026, largely because of the cutting-in around cabinets — the paint itself is a small slice of that.
Two practical notes from our job sites. First, primer matters as much as paint in wet rooms: stain-blocking primer over old water marks and a proper bonding primer over glossy or previously-leached surfaces prevent most callbacks. Second, if you are repainting a bathroom that has visible mould, killing and removing it comes first — painting over active mould just hides it while it spreads under the film. Persistent mould is a ventilation or moisture problem wearing a paint disguise.
Sheen Choices: Satin, Semi-Gloss, or Bath-Specific Matte
Sheen used to be a simple rule — glossier means tougher — but modern formulas have blurred it. Here is how we choose in 2026.
- Satin is our default for bathroom and kitchen walls. It sheds moisture, scrubs well, and doesn't spotlight every drywall flaw the way glossier finishes do.
- Semi-gloss belongs on trim, doors, window sills, and high-splash zones — behind a kitchen sink without tile, or wainscoting in a busy family bathroom. It is the most washable common sheen but shows roller marks and wall imperfections mercilessly.
- Bath-specific matte is the newer option: premium lines now offer moisture-resistant matte finishes that give the flat, contemporary look designers want without the fragility of ordinary flat paint. In a spa-style renovation with large-format tile and a floating vanity, a quality bath matte keeps the walls calm instead of shiny.
The honest caveat on matte: it still scrubs less durably than satin, so we steer families with young kids toward satin in the main bathroom and save the matte look for ensuites and powder rooms. Sheen also interacts with light — semi-gloss under pot lights turns every taped drywall seam into a visible ridge, which is why glossier walls demand better drywall finishing underneath. If your walls are rough, a bathroom renovation that includes proper skim-coating will do more for the final look than any paint upgrade.
Ceilings: The Forgotten Moisture Surface
Steam rises, so the bathroom ceiling takes more sustained moisture than any wall — and it is usually the surface painted with the cheapest flat white in the house. That mismatch is why ceiling peeling and speckled mould above showers are the most common paint failures we see in GTA bathrooms.
Spec the ceiling like a wall. Use the same kitchen-and-bath or moisture-resistant product, in flat or matte so the inevitable surface imperfections stay hidden under raking light from vanity fixtures. Where a ceiling has already stained or peeled, the fix is mechanical before cosmetic: scrape loose material, sand edges flush, stain-block the water marks, then repaint — otherwise old stains telegraph through within months.
Older homes deserve a second look up. Textured and stippled ceilings were near-universal in GTA homes from the 1960s through the 1980s, and in anything built before about 1990 that texture may contain asbestos — test before scraping or sanding it, no exceptions. And in mid-century bungalows where bathrooms sit under uninsulated attic corners, cold ceiling surfaces condense moisture faster; if a ceiling keeps growing mould despite good paint and a working fan, the real culprit may be missing insulation above it, which is worth fixing during any larger renovation rather than repainting around every winter.
Ventilation: Paint's Best Friend
Every paint failure story in a bathroom has the same second character: a fan that is too small, too clogged, or never used. Paint chemistry buys you resilience, but ventilation decides whether the room dries between showers — and a bathroom that stays wet will defeat any product eventually.
The habits matter as much as the hardware. Run the fan during every shower and for 20–30 minutes after; a humidity-sensing fan or a simple timer switch takes the human error out of it. Clean the grille — a fan choked with lint moves a fraction of its rated air. And check it actually vents outside — we still find fans dumping shower steam straight into attics.
Sizing is its own topic — we cover the math in our guide to choosing a bathroom exhaust fan that prevents mould — but the short version is that many builder-installed fans are undersized for the room, and replacing one is a modest job with an outsized effect on how long your paint, grout, and caulking last. In kitchens, the range hood plays the same role for grease: a hood that actually vents outdoors keeps aerosolized cooking oil off the walls and cabinets, which is half the battle for keeping kitchen paint scrubbable instead of sticky.
How Often Wet Rooms Need Repainting — and How to Stretch It
In our experience, a properly prepped and ventilated bathroom or kitchen repaint holds up for years — comparable to any other busy room — while a badly ventilated bathroom painted with bargain flat can look tired in a year or two. The variables that decide which outcome you get, in order: ventilation, prep, product, sheen.
To stretch a paint job in a wet room: squeegee or towel the worst shower-adjacent walls when you notice standing droplets, wipe kitchen splatter while it is fresh, use gentle cleaners instead of abrasives, and touch up chips before moisture gets behind the film and starts lifting edges.
When you are planning bigger work, sequence paint last and think about which surfaces should not be paint at all. Tile is the right material in shower surrounds and behind stoves — if a splatter zone keeps defeating your paint, extending the backsplash during a kitchen renovation is the permanent fix. And if a repaint keeps failing in the same spot, treat it as a symptom: leaks, missing insulation, and dead fans all announce themselves through paint first. The full picture of where paint fits among tile, ventilation, and waterproofing costs is in our Toronto bathroom renovation cost guide.
Ready to start your renovation?
Our team is here to help you bring your vision to life. Get a free, no-obligation quote today.
Get Free QuoteFrequently Asked Questions
Clear answers to the questions Ontario homeowners ask most.