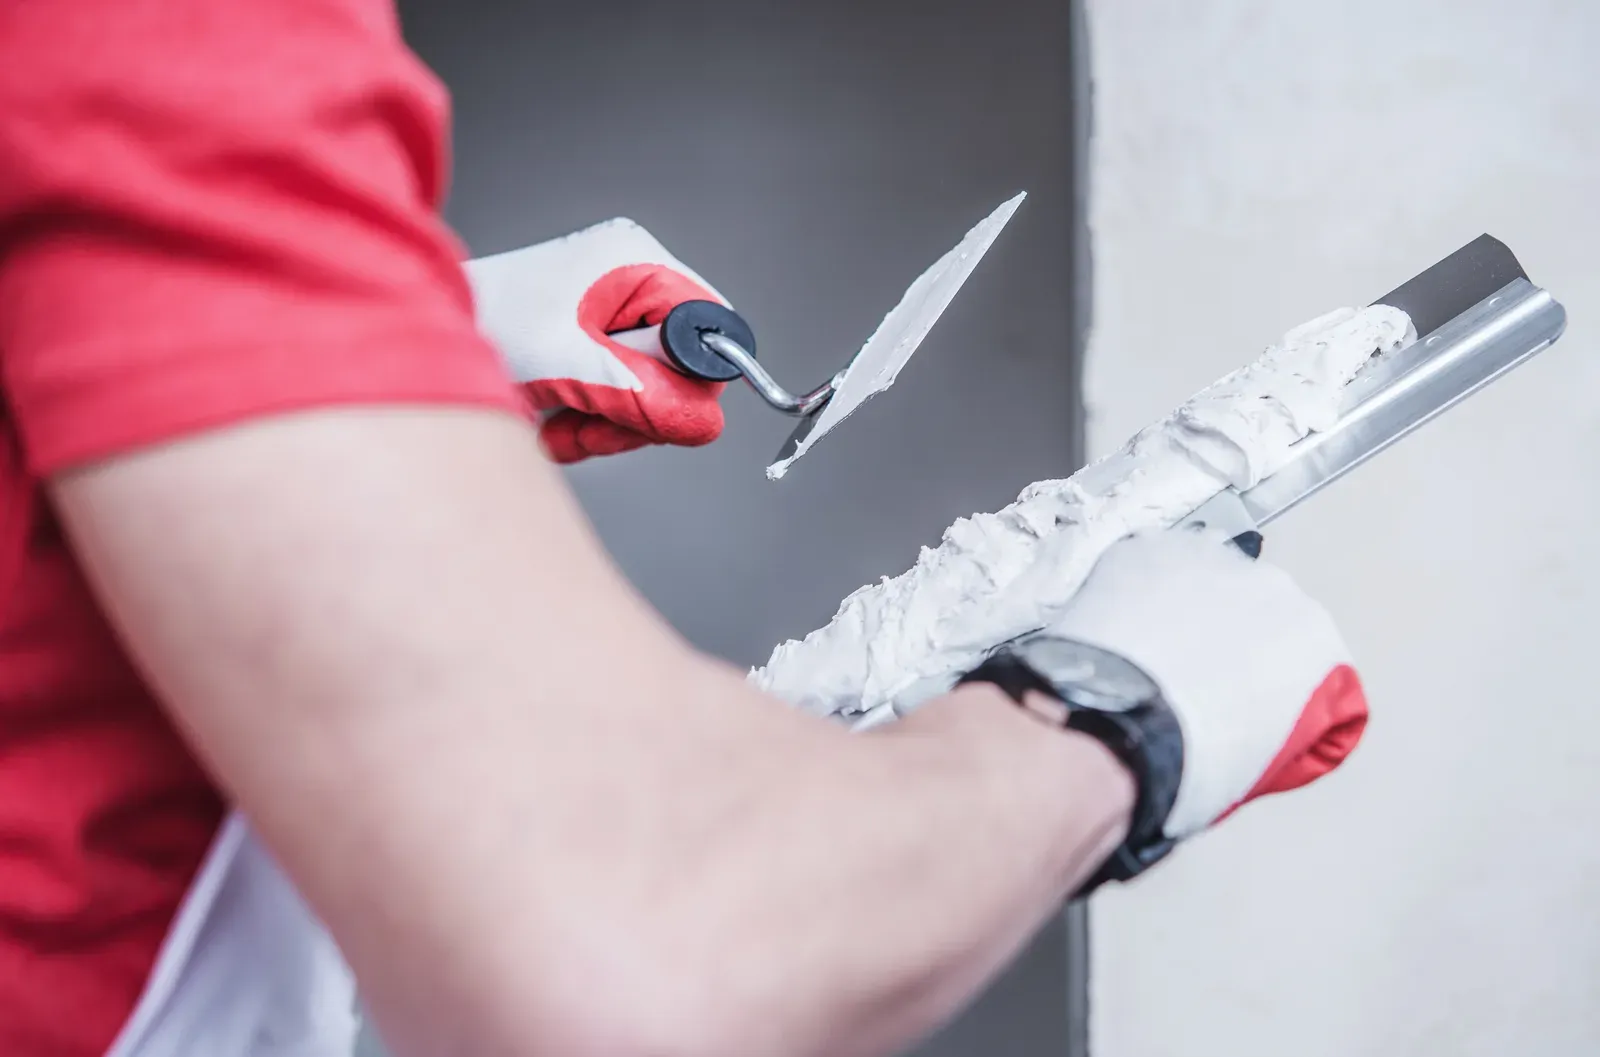
Fresh drywall is two different surfaces pretending to be one — thirsty paper and slick compound. Paint it without primer and every joint telegraphs through. Here is the sequence that prevents it.
Why New Drywall Can't Just Be Painted
The rule up front: new drywall gets one coat of drywall primer (PVA), then two finish coats. Skip the primer and you will see every joint and screw pattern ghosting through the paint — a defect called flashing that no third coat of finish paint reliably fixes.
The reason is that a freshly finished wall is not one surface. It is two materials with completely different appetites for paint. The face paper of the drywall sheet is porous and drinks paint at one rate. The joint compound over every seam, corner bead, and screw head is smoother and more absorbent in a different way — it pulls the water and binder out of paint faster, leaving a duller, slightly different-textured film. Paint applied directly to that patchwork dries into a patchwork.
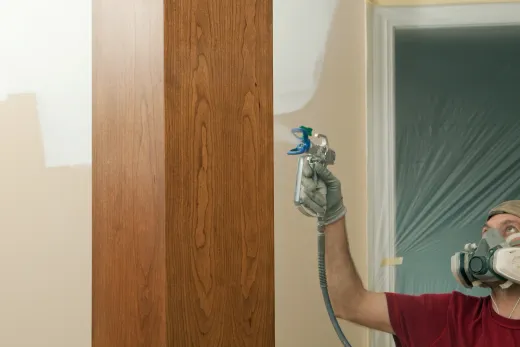
Primer exists to erase the difference. A drywall primer seals both surfaces to a single, uniform porosity so the finish coats dry evenly everywhere. It is a cheap, fast-drying, unglamorous coat — and it is the difference between a wall that looks sprayed-smooth and one that shows its skeleton every sunny afternoon. On renovation projects across the GTA, primer on new board is not a line we let anyone value-engineer out.
Flashing and Joint Banding: What Skipped Primer Looks Like
Homeowners usually discover the problem weeks after the painters leave, on the first clear morning when sun rakes down the hallway. The wall looks striped: vertical bands every four feet where the sheets meet, a horizontal band at four feet off the floor, and a faint constellation of dots over every screw. In flat overhead light the wall looked fine. In side light, the taping map is fully legible.
That is joint banding — one form of flashing, which is the general term for patches of paint drying to a visibly different sheen or texture than their surroundings. The compound areas absorbed the paint differently, so they reflect light differently. The effect is worst with any sheen above flat, on long uninterrupted walls, and in spaces with strong window light running parallel to the surface — stairwells, hallways, and open-concept rooms are the classic complaint sites.
The fix after the fact is essentially starting over: sand the finish coats back to a sound surface, apply the primer that was skipped, and repaint with two full coats. That costs more than the primer coat would have, which is the whole argument. When we review a renovation quote for a client and one painter is meaningfully cheaper on a new-drywall scope, a missing primer line is one of the first things we check.
The Right Sequence: PVA Primer, Then Two Finish Coats
The sequence on new board is short and strict.
- Sand and inspect the taped surface, then remove dust — vacuum and tack, not just a quick wipe. Primer locks in whatever dust is left under it.
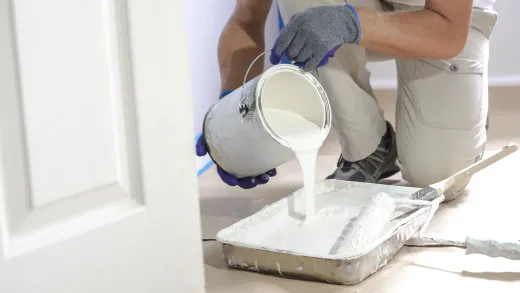
- Apply one full coat of PVA drywall primer. PVA (polyvinyl acetate) primer is made specifically to seal fresh compound and paper; it is inexpensive and dries fast. This is a different product from stain-blocking or bonding primers, which solve different problems.
- Inspect after priming. Primer is the best flaw-detector there is: a uniform light coat makes every ridge, pinhole, and rough patch visible for the first time. Finishers spot-fix and re-sand now, while fixes are cheap.
- Apply two finish coats, allowing proper dry time between them.
Two shortcuts to decline politely. First, "paint-and-primer-in-one" products are fine over previously painted walls but are not a substitute for a dedicated sealer on raw drywall. Second, using a tinted first coat of finish paint as the primer — finish paint is a poor sealer and an expensive one. The professional sequence exists because each coat does one job: primer seals, first coat builds, second coat finishes.
Level 5 Skim Coats and Critical Lighting
Primer solves the absorption problem. It does not solve the texture problem — the physical difference between paper texture and sanded-smooth compound. On most walls, under most light, a standard Level 4 finish plus primer is completely fine, and that is what typical GTA drywall pricing of $3.00–$4.50 per square foot installed buys as of 2026.
Some walls need more. A Level 5 finish adds a thin skim coat of compound across the entire surface, so paper and joints disappear under one uniform skin. It typically adds about $1.00–$1.50 per square foot over Level 4 and 30–50% more finishing time — real money and real schedule on a whole house, which is why it is specified surgically rather than everywhere.
Where Level 5 earns its cost: walls washed by strong side-light, such as stairwells under windows and condo walls running parallel to floor-to-ceiling glass; any wall getting an eggshell-or-shinier sheen in that kind of light; feature walls in dark or saturated colours, which show texture more than pale ones; and ceilings under rows of pot lights, where shallow-angle light exaggerates every ridge. In new open-concept spaces — exactly the kind created when walls come down in a renovation — long sightlines and big windows make critical lighting the norm, so the Level 5 conversation belongs in the drywall quote, not after the first sunny day.
Timing After a Renovation: Dust, Cure, Paint
On a renovation schedule, the pressure to paint the day after sanding is constant. Resisting it produces a visibly better wall.
Joint compound needs to be genuinely dry before primer goes on — not just surface-dry. Drying time depends on humidity, and the GTA's humid summers slow it noticeably; compound that dries overnight in February can need considerably longer in a muggy July, especially in basements and in houses where the HVAC is not yet running. Priming over damp compound traps moisture and shows up later as dull spots or, worse, adhesion problems.
Dust is the other discipline. Drywall sanding produces the finest dust on a job site, and it keeps settling for days. Painting before the site is properly cleaned — floors vacuumed, ledges wiped, air allowed to clear — grinds dust into wet paint and leaves a gritty finish. This is also the stage of a project that is hardest to live through; our honest take on living in the house during a renovation is largely shaped by drywall-and-paint weeks.
One more scheduling note: paint is nearly last for a reason. Trades walking through after painting means touch-ups, so flooring, trim carpentry, and fixture installation all have defined places in the order. Full sequencing is laid out in our whole-home renovation order guide.
Coordinating Drywall and Paint Crews on One Schedule
Flashing complaints have a common root cause: the drywall crew and the paint crew never talked. The finisher assumed a Level 4 standard; the painter sprayed eggshell down a sunlit hallway; the homeowner inherited the gap between those two assumptions.
On a well-run project, three decisions get made together before either trade starts. The sheen map — which rooms get flat, eggshell, or satin — because sheen determines where Level 4 is enough and where Level 5 is worth specifying. The lighting reality — which walls face raking window light or pot-light wash. And the schedule — who sands, who primes, who does the post-prime spot-fixes, and how many dry days sit between compound and colour. When one contractor carries both scopes, those decisions happen by default; when they are separate contracts, someone has to ask the questions, and that someone is usually you.
This is a genuine advantage of running drywall and paint under one design-build renovation contract: the finish spec is written once, priced once, and owned by one team, with no seam for defects to fall through. If you are budgeting a project that includes new walls — an opened-up main floor, a finished basement, an addition — our Toronto home renovation cost guide shows where drywall and painting typically land in the totals, and our home renovation team can price the whole finish chain, primer included, in one quote.
Ready to start your renovation?
Our team is here to help you bring your vision to life. Get a free, no-obligation quote today.
Get Free QuoteFrequently Asked Questions
Clear answers to the questions Ontario homeowners ask most.