Honey oak trim dates a 1990s GTA home faster than any other finish. Painting it white works — if the prep sequence is right and your grain expectations are honest.
The 1990s Honey Oak Problem Across the GTA
If your house went up between the late 1980s and early 2000s — Bayview Hill in Richmond Hill, Woodbridge or Maple in Vaughan, Millcroft in Burlington, Georgetown South, the later phases of Oakville's Glen Abbey — odds are it came trimmed in honey oak. Baseboards, casings, railings, kitchen cabinets, sometimes a full wall of built-ins, all in the same orange-toned lacquer that read as quality in 1994 and reads as a date stamp now.
The short version of everything below: oak paints beautifully white when the sequence is right — degrease, scuff-sand, stain-blocking primer, two enamel coats — but the grain will still read subtly through the paint unless you pay to fill it. As of 2026, spraying a typical kitchen's oak cabinets runs $3,000–$7,000, with trim and doors priced separately on most quotes. Done properly, it is the highest-impact update a 90s GTA home can buy without moving a single wall.
Will the Grain Show? Setting Expectations
Yes — and settling this before work starts saves everyone grief. Oak is an open-grained species: its surface carries thousands of tiny pores that paint settles into rather than bridging. A painted oak door reads as crisp white from across the room, and up close you can see and feel a faint ticking texture in the finish. Most clients like it once they see it; it looks like painted wood rather than plastic.
If you want a perfectly smooth, furniture-flat surface, that exists too — the pores get filled with grain filler before priming — but it is a genuine extra labour step across every door and rail, and it moves the budget accordingly. The honest comparison point is a smooth MDF replacement door, which starts flat for less money. Our rule with clients: see a finished sample door first, decide about filler with your fingertips, then price the whole job with your eyes open.
Colour choice affects how much grain you notice, too. Soft whites and light greys sit quietly over the texture; high-gloss brilliant white throws every pore into relief under pot lights. Most of the conversions we do land in a warm white with a satin or semi-gloss enamel — enough sheen to wipe clean, not enough to spotlight the wood underneath.
Degloss, Prime, Paint: The Sequence That Sticks
Ninety per cent of failed oak-painting jobs die in the first two steps, not the last one.
Nineties oak wears its original factory lacquer plus three decades of hand oils, cooking film, and furniture polish. So the sequence is fixed. First, degrease — especially kitchen cabinets and stair railings, where the buildup is invisible and everywhere. Second, scuff-sand every surface to break the gloss so primer has something to grip. Third, a stain-blocking primer, shellac- or oil-based: oak tannins will otherwise bleed through waterborne paint and ghost yellow-brown patches through your white within weeks. Finally, two coats of quality enamel with proper drying windows between them.
The classic DIY failure is painting straight over glossy lacquer with wall paint. It looks fine for a month, then peels in sheets from every edge a fingernail catches. Prep is boring and it is most of the labour bill — which is exactly why it is the part worth paying for.
Spray vs Brush on Trim and Doors
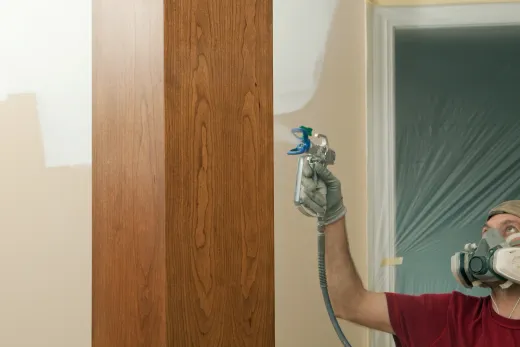
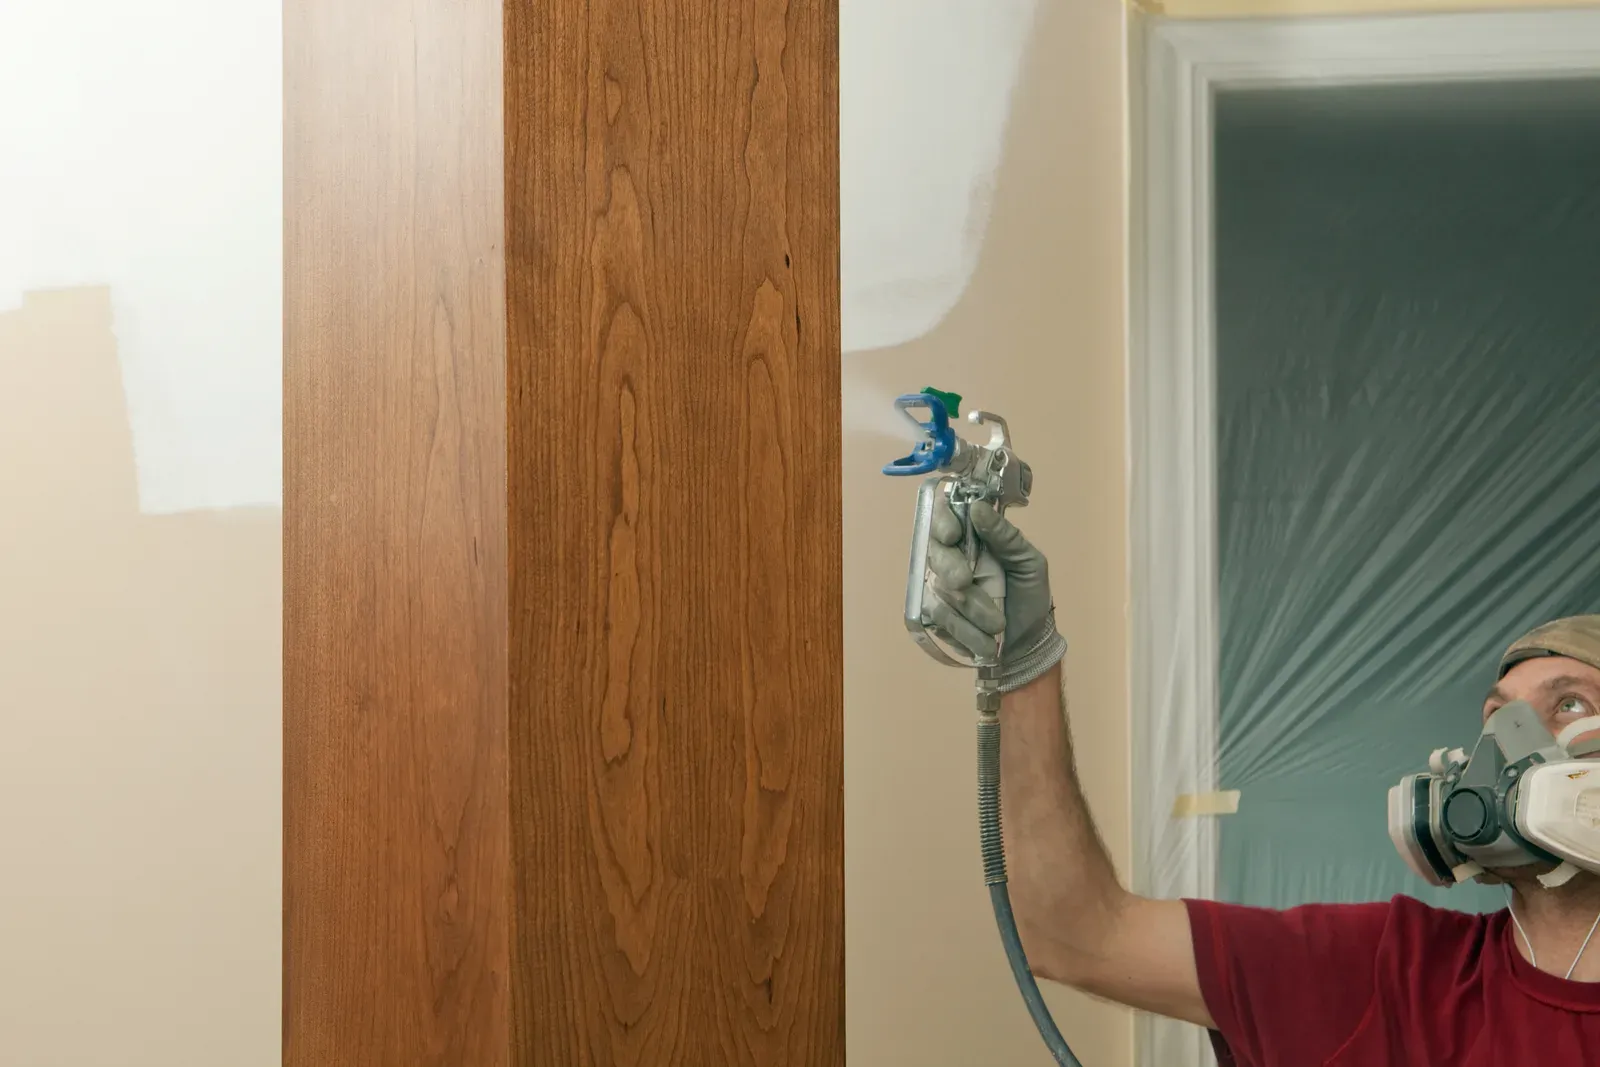
Spraying gives the closest thing to a factory finish — no brush marks, thin even coats, crisp profiles — and it is how all cabinet doors should be done: pulled, labelled, and sprayed flat in a shop or a sealed on-site spray room, then rehung after curing. Interior passage doors are worth the same treatment.
Baseboards and casings that stay in place are a judgment call. Spraying them in a furnished home means masking everything the overspray could reach, and the masking can take longer than the painting; a skilled hand with a fine-finish brush and enamel gets excellent results on narrow profiles at lower cost. Most of our conversions run hybrid: sprayed doors and cabinets, brushed standing trim. Railings sit in between — sprayed when we can isolate the stairwell, brushed when the house is occupied and the hallway cannot be sealed off. The right split depends on your home's layout and tolerance for a few days of plastic sheeting.
What a Whole-Home Trim Conversion Costs
As of 2026, the anchor number is the kitchen: spraying oak cabinets runs $3,000–$7,000 for a typical GTA kitchen, with the full market spanning $2,500–$8,500+ by door count. A realistic full-process job — degrease, sand, bonding primer, two to three sprayed coats, rehang — lands $3,800–$6,000. Trim, doors, and railings are priced separately on most painting quotes, typically per door and per length of trim, and stairs are their own line: refinishing benchmarks run $50–$125 per step in Toronto, and painting spindles is comparably labour-intensive. Whole-home wall repainting, for context, runs $1.80–$4.50 per square foot of wall area, and quotes usually exclude 13% HST.
If your cabinet boxes are worn rather than just dated, compare spraying against refacing versus replacing cabinets — refacing typically saves 40–50% versus new cabinetry. Our kitchen renovation cost guide shows where a painted-versus-new decision lands in a full budget.
Keep or Paint? The Case for Good Oak
Not all oak should meet a spray gun. Century homes in Old Milton, downtown Georgetown, or older Burlington streets sometimes carry original quarter-sawn oak trim with ray-fleck figure that no mill is reproducing affordably today — that is craftsmanship, and we talk clients out of painting it. Nineties builder trim is a different animal: flat-sawn production stock chosen for price, with no future as a collectible. Paint it without guilt.
Our decision guidance: paint the trim and doors if you are modernizing and staying — it is transformative money. Keep oak floors natural even when trim goes white; the contrast is exactly the current look, and refinishing floors costs far less than replacing them. If trim is dented and split, price new primed MDF trim against prep-heavy painting before deciding — sometimes replacement wins. And if the kitchen is the real target, painted uppers are step one of the larger conversation we have on every custom kitchen cabinet and home renovation project we run across the GTA.
Ready to start your renovation?
Our team is here to help you bring your vision to life. Get a free, no-obligation quote today.
Get Free QuoteFrequently Asked Questions
Clear answers to the questions Ontario homeowners ask most.