A basement never gets main-floor daylight, so the lighting plan has to do the work. Spacing, layering, and colour choices that make GTA basements feel like living space.
Why Basements Feel Dark Even With Lights On
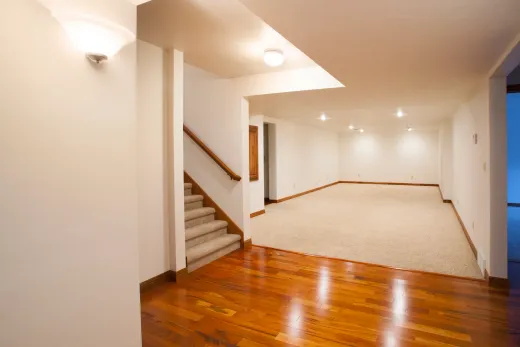
Most finished basements we walk into have plenty of lumens and still feel like a bunker. The reasons are physical: ceilings at 7'0" to 7'8" instead of 9', small windows high on one wall, bulkheads chopping up the ceiling plane, and corners that a single row of pot lights never reaches. Light bounces poorly in a room where the ceiling is close and dark walls absorb everything.
The fix is not more fixtures — it is a plan with four parts, all decided before drywall goes up:
- Pot lights on a real grid, spaced to the ceiling height
- Layers: task, accent, and indirect light instead of one switch that does everything
- One consistent colour temperature, usually 3000K
- Dimmers and switching that let the same room handle movie night and homework
In the 1960s–70s split-levels across Scarborough and North York, low ceilings are mostly a fixed fact — underpinning is a separate and expensive conversation — which makes lighting the cheapest headroom you will ever buy. A well-lit 7'4" basement reads taller than a badly lit 8' one. We have seen it too many times to call it a trick.
Pot Light Spacing and the Grid That Works
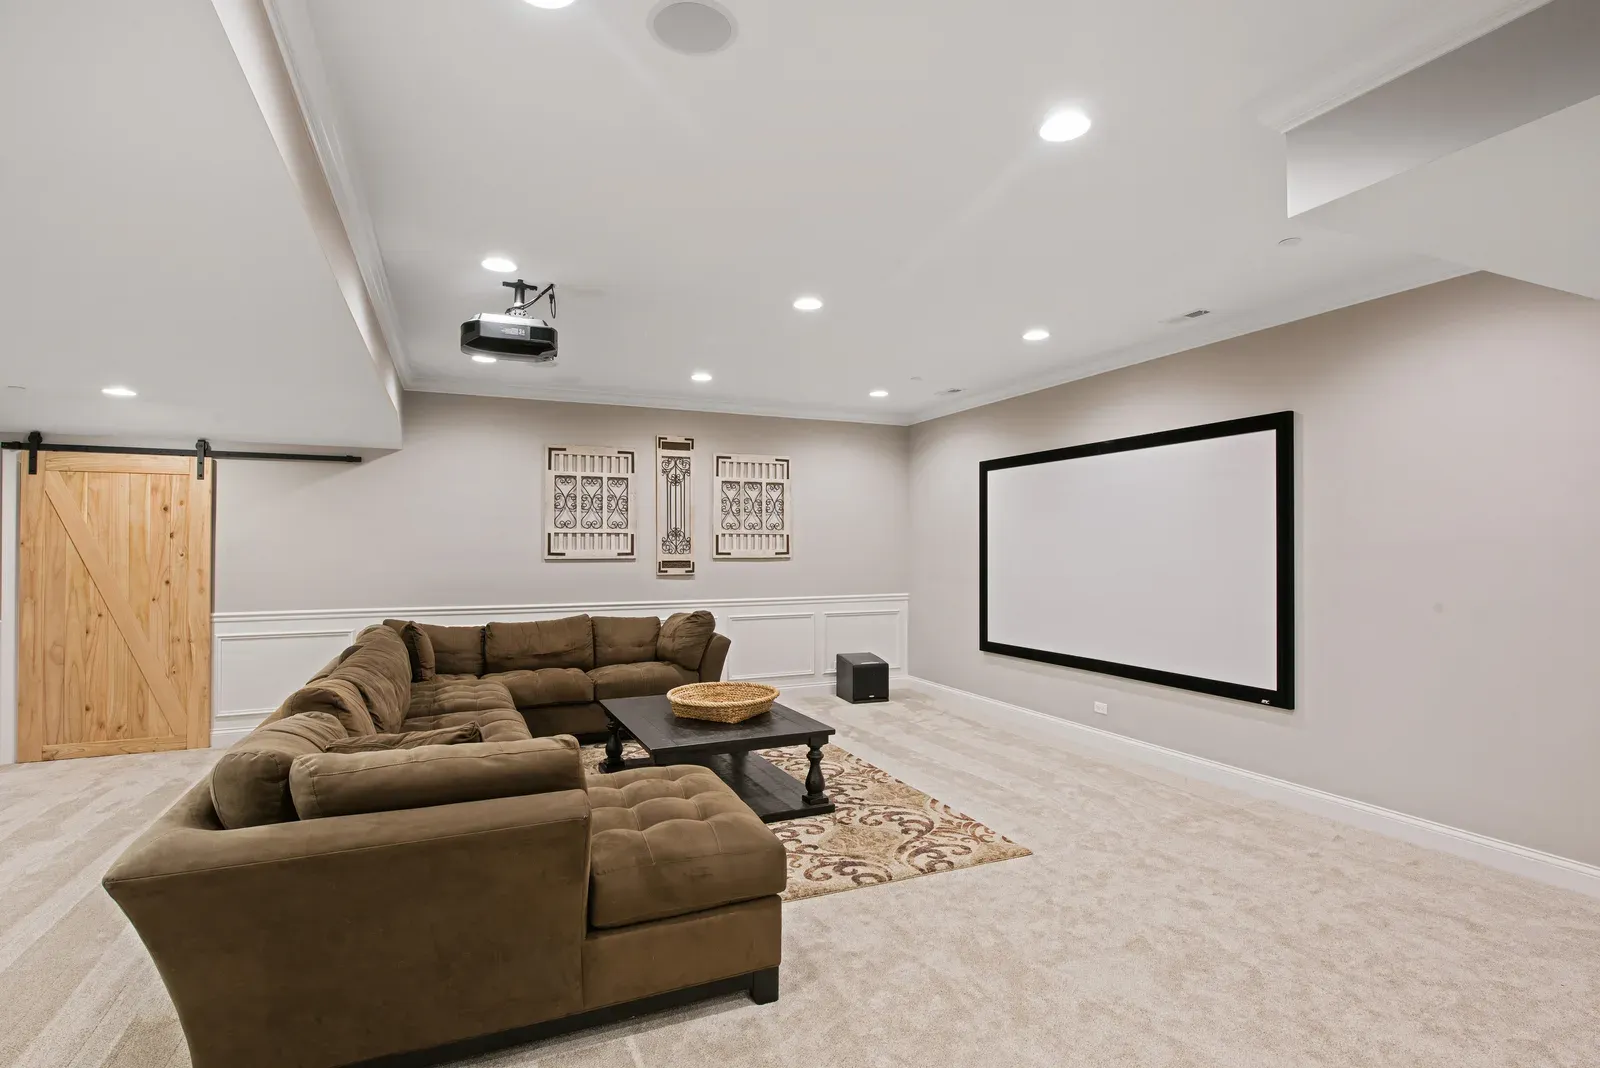
The working rule: divide ceiling height by two to get spacing. A 7'6" basement ceiling wants pot lights roughly four feet apart — noticeably tighter than the six-to-eight-foot grid that suits a tall main floor. Space them wider and you get scallops of brightness with dim bands between, which is precisely the look people describe as "basement-y."
Run the rows parallel to the longest wall, and keep the outer rows two to three feet off the walls so light washes down them — a lit wall reads as a bigger room, while a dark wall pulls the space in. Centre fixtures on things that matter: the TV wall, the bar counter, the desk. Random placement around obstructions is the most common flaw in the basements we're hired to relight.
For low ceilings, small apertures win. Modern 4-inch slim LED discs need almost no recess depth, sit flush in bulkheads and shallow ceilings, and a larger number of small fixtures beats a few big cans every time. Where insulation sits above the ceiling — typical along the basement perimeter — fixtures must be rated for insulation contact, a detail worth confirming on the quote.
Layering: Task, Accent, and Indirect Sources
Pot lights alone flatten a room. The basements that feel good at 9 p.m. in January layer three more sources over the grid.
Task light goes where eyes work: pendants or under-cabinet strips over a bar counter, a dedicated fixture over the desk or craft table. Accent light gives the eye somewhere to land — a recessed niche, a picture light, an LED strip washing a stone or wood feature wall. Indirect light is the basement's secret weapon: LED strip tucked along the top of a bulkhead or behind a cove throws light up onto the ceiling, which visually lifts it in a way no downlight can.
Add switched receptacles for floor and table lamps so plug-in light joins the plan instead of fighting it, and give every layer its own switch or dimmer zone. That is a wiring decision, not a decorating one — which is why it belongs in the drawings for the basement renovation, not in a shopping trip after the paint dries.
Colour Temperature: The 3000K Sweet Spot
Colour temperature decides whether a basement feels warm or clinical. 3000K — warm white — is the sweet spot for basement living areas: warmer than office lighting, crisper than the orange glow of old incandescents. Drop to 2700K in a dedicated theatre room for a cozier feel; save 4000K and up for the workshop or laundry zone, where you want to see true colour on the task in front of you.
Two rules matter more than the exact number. First, consistency: mixing 3000K pot lights with a 4000K strip and 2700K lamps makes a space feel subtly wrong in a way most people can't name. Buy everything in one temperature. Second, quality: choose fixtures with a CRI of 90 or better so skin tones and wood finishes read naturally — a "cheap-looking" basement is often just low-CRI light doing its worst.
Most current fixtures are temperature-selectable at install. We set every fixture in the space to the same value, then label the choice inside the panel door so future replacements match instead of drifting.
Stair and Bulkhead Lighting Details
Basement stairs are the most-used and worst-lit square footage in most GTA houses. Three details fix them. Light the stair itself: a fixture over the landing plus step lights or a low wall wash, so every tread casts a visible shadow line. Switch the stair from both top and bottom — three-way switching here is a safety item, not a luxury. And keep fixtures out of head-swing space on low stairwells, which is where slim surface-mount discs earn their keep.
Bulkheads — the boxed-in ducts and beams that criss-cross most 1960s–80s basements — usually get treated as a problem. They are an opportunity. A slim LED strip run along the top of a bulkhead grazes light across the ceiling and makes the drop visually disappear. Downlights mounted in the bulkhead face can light a walkway or bar top without touching the shallower joist space above. In the back-splits and side-splits common across Scarborough, North York, and older Etobicoke, where ceiling planes change level to level, bulkhead lighting smooths the transitions instead of spotlighting them.
Wiring Scenes and Dimmers While Walls Are Open
Every part of this plan is cheap while studs are exposed and expensive after paint. Running an extra switch leg or dimmer zone during rough-in costs a fraction of a retrofit — licensed electricians in Toronto typically charge $95–$150 an hour as of 2026, and opening finished drywall multiplies the hours fast.
Put dimmers on every zone in a living area. Wire the theatre or TV wall as its own scene so one press takes it from bright to movie-dark. Smart switches are worth adding if you'll use them, but conventional dimmers wired correctly beat smart bulbs fighting a badly planned circuit.
One compliance note: new basement lighting means new wiring, and in Ontario all electrical work requires an ESA notification filed by a licensed electrical contractor — separate from any municipal building permit. The fee typically runs about $90–$300 and is normally built into the electrician's quote; here's how ESA electrical permits differ from building permits. If the lighting is part of a full finish, our Toronto basement renovation cost guide shows where electrical sits in the overall budget. Either way, sketch the lighting plan first — it is the one decision in a basement you cannot comfortably change later.
Ready to start your renovation?
Our team is here to help you bring your vision to life. Get a free, no-obligation quote today.
Get Free QuoteFrequently Asked Questions
Clear answers to the questions Ontario homeowners ask most.