A doorknob hole and a leak-stained ceiling are both "drywall repair," but they are priced worlds apart. Here is what Toronto repairs cost in 2026 by damage type — and where repair stops making sense.
Drywall Repair Pricing by Damage Type
As of 2026, Toronto drywall repairs span from roughly $150 at the minimum-charge end for a small patch visit to $2,000 and up for a water-damaged ceiling that needs the leak traced, sections replaced, and the finish blended. Where your job lands depends less on the size of the hole than on how many trades and visits it takes to close.
A rough map of the territory:
- Nail pops, small dents, doorknob holes: minimum-charge territory — the visit costs more than the hole.
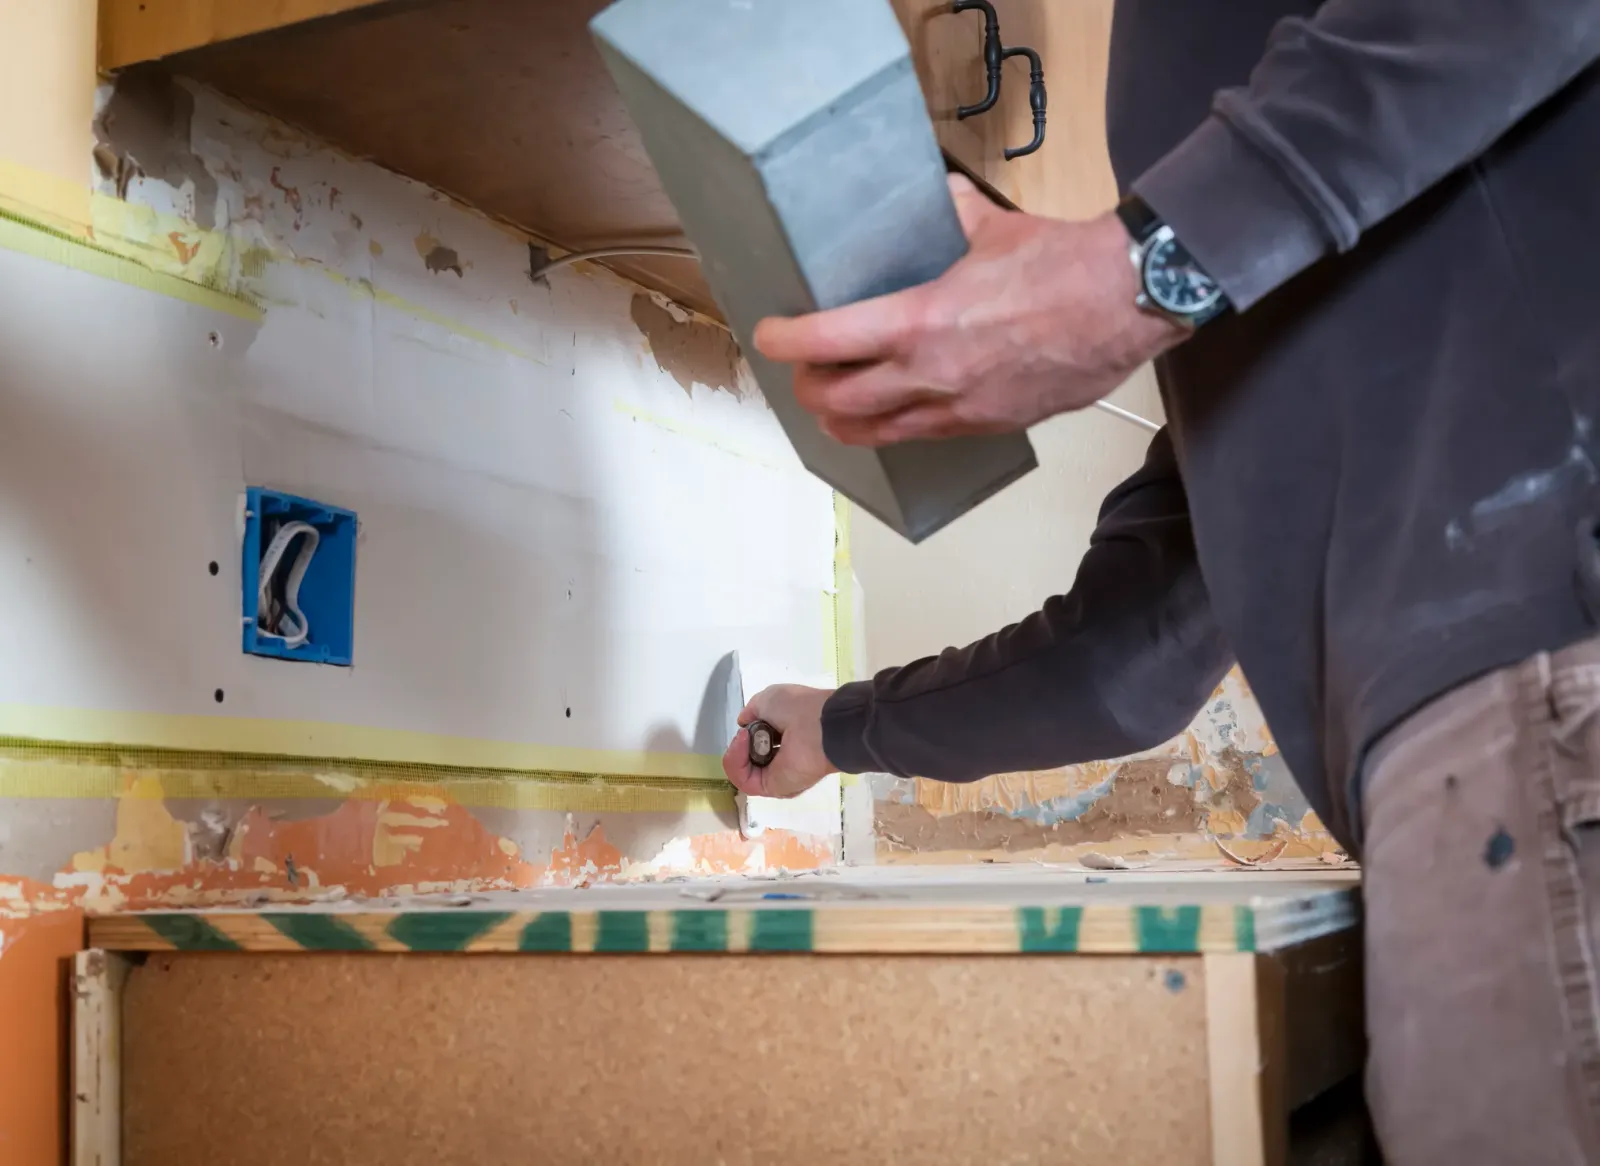
- Fist-to-dinner-plate holes: a backed patch, tape, two to three coats of compound, and sanding across two or three visits.
- Cracks along seams and corners: re-taping and feathering; price scales with length and how many spots.
- Larger damaged sections: once you are cutting out and replacing board, pricing tracks taping-and-finishing rates of about $1.75–$3.75 per square foot plus board and setup.
- Water-damaged ceilings: the expensive category, because the drywall is the last step, not the first.
Small Patches: Why There's a Minimum Charge
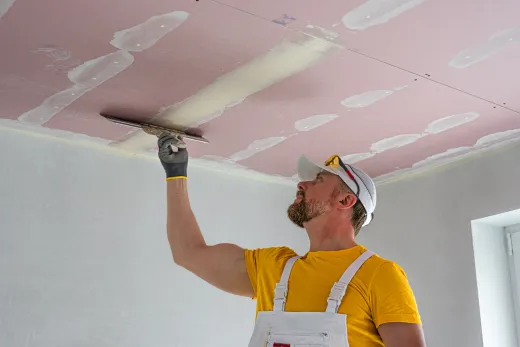
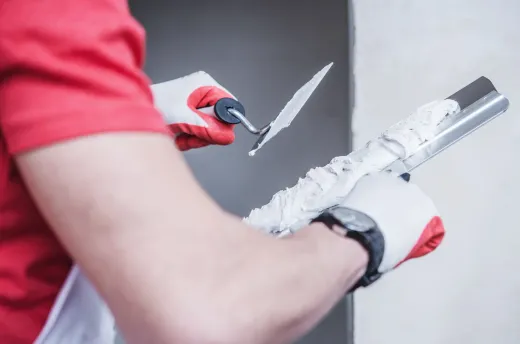
The minimum charge frustrates homeowners more than any other line in drywall pricing, so here is what it actually covers. A proper patch — even a golf-ball-sized one — involves cutting clean edges, installing backing, fastening a board piece, taping, then two or three coats of compound applied on separate days because each must dry, followed by sanding, dust control, and ideally priming. That is a professional's time across multiple visits, plus travel each time. The hole is trivial; the process is not.
How to spend the minimum wisely: walk the whole house first. Collect the nail pops, the old anchor holes, the corner dings, the crack over the bedroom door — and have them all done in one booking. A tradesperson who is already set up with compound and tools can handle a surprising list in the same visit that one hole would have cost.
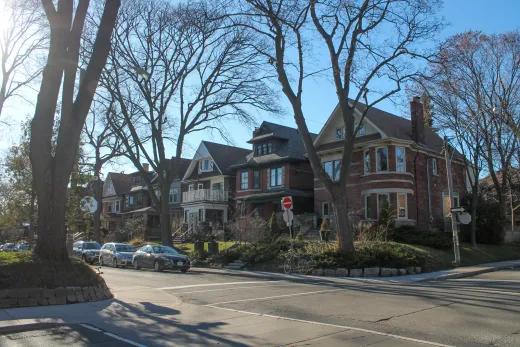
A Toronto-specific caveat: in much of the city's pre-1960 housing — East York, older Etobicoke and Scarborough, the Victorian streets of Riverdale and Parkdale — the walls are not drywall at all but plaster over wood lath. Plaster repair is a different craft with different pricing, and patching plaster with drywall techniques usually reads as an obvious scab. If your home predates the 1960s, ask specifically whether the person quoting has plaster experience.
Water Damage: Find the Leak Before You Patch the Ceiling
The brown ring on the ceiling is evidence, not the problem. Repairing water-damaged drywall before finding and fixing the water source is the most common wasted spend in this category — the stain returns, the new patch sags, and you pay twice.
The usual suspects in Toronto homes, roughly in order: bathroom leaks from above (failed caulking, tile grout, or a toilet seal), roof and flashing leaks that show up after storms and winter freeze-thaw cycles, burst or sweating pipes in exterior walls during cold snaps, and ice damming that pushes meltwater under shingles in poorly insulated attics.
Once the source is fixed, the repair itself is straightforward but layered: cut out everything soft or stained back to sound board and framing, let the cavity dry fully (rushing this seals in mould), replace insulation if it got wet, board, tape, finish, stain-block, and paint. That full sequence on a ceiling is how the bill reaches $2,000 or more — you are paying for a leak diagnosis, possibly a plumber or roofer, and then the drywall work, not just a patch.
Basements deserve their own mention: recurring moisture on foundation-side walls is a waterproofing problem, and moisture needs solving before any finishing work, or the new drywall is simply the next victim.
Cracks That Come Back: Settlement vs Seasonal Movement
A crack that has been filled three times and returned three times is telling you something about the house, and Toronto homes tell two different stories.
Seasonal movement is the benign one. Wood framing swells in our humid summers and shrinks in dry, heated winters, and drywall — a rigid skin on a moving skeleton — cracks at its weak points: seams, corners, and the joints above doors and windows. Truss uplift can open a hairline gap where upstairs ceilings meet interior walls each winter and close it each summer. These cracks are cosmetic. The durable fix is re-taping with flexible materials and feathering wide, not just smearing compound in the gap — compound alone will crack again on the next cycle.
Settlement is the one to watch. In newer builds — the kind filling Toronto infill lots and GTA subdivisions — some cracking and nail-popping in the first couple of years is normal as framing lumber dries and the structure settles into itself; builders and repair trades treat a one-time fix after that period as routine. But cracks that are wide, growing, diagonal from the corners of doors and windows, or paired with sticking doors and sloping floors can point to foundation movement, which is a structural conversation before a cosmetic one.
The practical rule: patch a returning crack properly once. If it comes back again, investigate the cause instead of buying a fourth repair.
Matching Texture and Paint After a Repair
A structurally perfect patch can still fail the eye test, because the last ten percent of a drywall repair is optical.
Texture is the first challenge. Stippled and textured ceilings are common in Toronto homes finished from the 1960s through the 1980s, and blending new texture into old is genuinely difficult — spray-can textures rarely match a hand-applied original. One important caution before anyone touches an old textured ceiling: in homes built before about 1990, the texture may contain asbestos. Testing is the only way to know, and it must happen before scraping or sanding — a repair quote that ignores this on a 1970s ceiling is a red flag, not a bargain.
Paint is the second challenge. Paint fades and burnishes over years, so touching up a patch with the original can — even the exact colour — often leaves a visible "clean spot," especially in sheens above flat and under raking light. The honest fix is repainting the whole wall corner-to-corner, or the whole ceiling, so the surface reads as one plane. Budget for that when comparing quotes: one price buys a finished result, the other buys a repaired hole you may still see every evening. It is the same kind of scope fine print behind most hidden soft costs in Toronto renovations.
Repair vs Reboard: Where the Line Sits
At some point, patching stops being economical — full drywall installation runs about $3.00–$4.50 per square foot finished in the GTA as of 2026, and that number is the benchmark every big repair should be compared against.
Our rule of thumb from job sites: once damage, cracking, or previous bad patches affect roughly a third of a wall or ceiling, replacing the whole plane usually wins. You get one uniform surface, one taping job, one paint, and no archaeology of overlapping repairs telegraphing through. Reboarding also wins when the existing surface has bigger problems than the damage — heavily textured ceilings hiding poor seams, walls with five layers of paint and wallpaper, sagging ceiling board, or plaster that has lost its key from the lath and crumbles around every fix.
Repair wins for isolated damage on otherwise sound surfaces, which is most cases. And there is a middle path worth knowing: overboarding — screwing new board over a rough but sound ceiling — skips messy demolition and delivers a flat new surface, often the smart play for tired ceilings in mid-century Toronto houses.
If the repair list has grown into something bigger — multiple rooms, a basement, a ceiling here and a hallway there — it may be time to stop buying patches and plan properly. See what full projects cost in our Toronto home renovation cost guide, or have our home renovation team in Toronto look at the whole picture — quotes through our contact form are free.
Ready to start your renovation?
Our team is here to help you bring your vision to life. Get a free, no-obligation quote today.
Get Free QuoteFrequently Asked Questions
Clear answers to the questions Ontario homeowners ask most.