A water stain on drywall is a message from somewhere else in the house. Reading the damage correctly decides whether you are looking at a patch, a panel, or a whole new ceiling.
Reading the Damage: Stain, Sag, Soft, Crumbling
The condition of the board tells you most of what you need to know, and it sorts into four grades.
- Stain only. A dry, brown-ringed mark on solid board usually means an old or one-time leak that has already dried. If the source is confirmed fixed, this is a stain-blocking primer and paint job — the cheapest outcome on the list.
- Sag. A ceiling bowing between joists has absorbed enough water to lose stiffness. Sagging board rarely recovers its shape even after drying; plan on replacement of the affected panels.
- Soft. Press gently — if the surface gives like stale bread, the gypsum core is saturated and has lost structural integrity. Soft board gets cut out, full stop.
- Crumbling. Board that flakes or powders at a touch has been wet repeatedly or for a long time. This is replacement plus a hard look behind the wall, because long exposure means whatever is back there — insulation, framing, wiring — has been wet too.
One more grade worth naming: the bulging ceiling holding water like a balloon. That one is an emergency — place buckets, then relieve it with a small drainage hole at the low point before the weight brings down the whole sheet.
First 48 Hours: Drying Beats Demolition (Sometimes)
Speed decides how much of the ceiling or wall you keep. Board that gets dry fast and stays solid can often be saved; board that stays damp cannot.
The sequence: stop the water first — shut the supply valve, or the main if you cannot isolate the fixture. Then move air. Fans across the wet surface plus a dehumidifier in the room dramatically outperform waiting. Open the wetted area to airflow: pull baseboards away from wet walls, and if a ceiling cavity took water, a modest inspection opening lets trapped moisture out instead of letting it soak into framing and insulation.
Know what will not dry in place. Saturated batt insulation holds water for weeks and drips it back into everything around it — wet insulation comes out. And basements complicate everything: if the water arrived through the foundation rather than from plumbing, drying the drywall treats the symptom. Our answer on basement moisture and waterproofing before finishing covers why the wall assembly itself has to be rethought in that case.
A fair rule from experience: what you dry in the first two days, you usually keep. What is still damp by day three, you usually replace.
The Mould Window and When Replacement Is Mandatory
Mould is the clock running behind every decision above. On wet paper-faced drywall, growth can establish within a couple of days — the paper facing is, unhelpfully, an excellent food source. This is why aggressive drying in the first 48 hours matters so much: it is less about saving the board than about winning the race.
Replacement stops being optional in a few situations. Board that stayed wet beyond a few days. Any visible growth — fuzzy, spotted, or discoloured patches that smear rather than brush off. A musty smell that persists after drying, which usually means growth inside the cavity where you cannot see it. And repeat-leak locations: the third stain under the same shower is telling you the cavity has been wet more often than anyone knew.
When we open these areas up, we cut back well past the visibly damaged section to confirmed dry, clean board — a patch that stops at the edge of the stain routinely leaves wet material hidden behind the cut line. Small mould-affected areas are manageable with proper precautions during removal; extensive growth across a large area is a remediation job before it is a drywall job, and pretending otherwise just moves the problem behind new paint.
Find and Fix the Source First
Repairing drywall before finding the leak is how you pay for the same ceiling twice. In GTA housing, the usual suspects sort by era and season.
Winter is burst-pipe season: supply lines in exterior walls and uninsulated cavities freeze during cold snaps, and the damage announces itself during the thaw. Ice dams do something similar from above, backing meltwater under shingles and into top-floor ceilings — a freeze-thaw classic in older, under-insulated attics.
The plumbing itself carries generational risk. Pre-1960 homes may still run galvanized supply pipe that corrodes shut and eventually leaks; repipes run $2,000 to $15,000 in the GTA depending on size and access. Homes and additions from 1978 to 1995 can carry grey polybutylene (Poly-B) supply lines, and homes and condos built 1995 to 2007 fall in the Kitec window — the orange-and-blue piping subject to a class-action settlement whose claims period has closed, meaning replacement is now out-of-pocket. Kitec is common enough in GTA condos of that era that we flag it in every condo renovation scope from those years.
For basements that flood from the municipal side, Toronto's Basement Flooding Protection Subsidy is worth knowing: expanded May 1, 2026, it now covers up to $6,650 per property, including up to $1,600 per backwater valve and $2,250 toward a sump pump.
Patch, Panel, or Full Ceiling: Repair Scopes and Costs
Once the source is fixed and everything is dry, the repair sorts into three scopes.
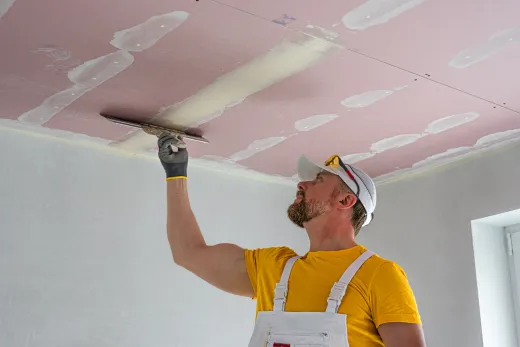
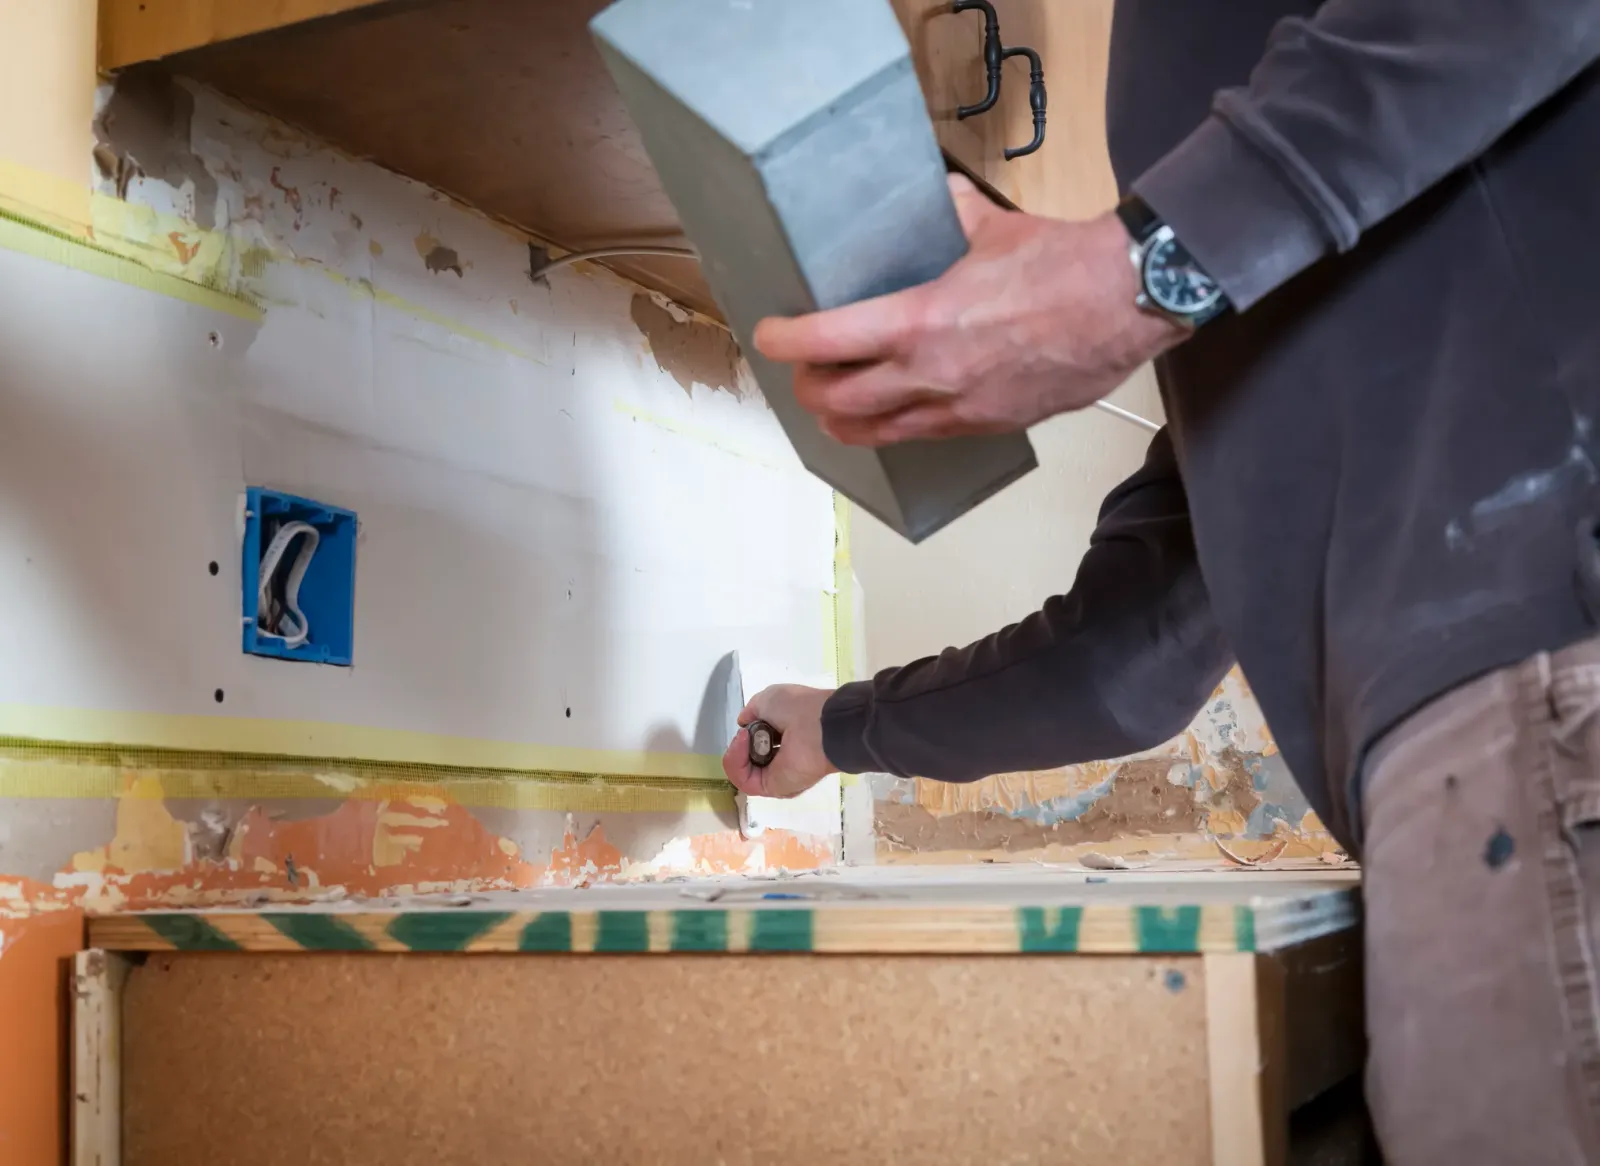
A patch handles damage smaller than roughly a dinner plate: cut a clean rectangle, add backing, insert new board, tape, and feather three coats of compound into the surrounding surface. Small, but not trivial — the taping and blending are most of the work, and a visible patch outline in raking light is the mark of a rushed job.
A panel replacement swaps full sheets between framing members — the usual outcome for sags and soft spots. New board installed with taping and finishing runs $3.00 to $4.50 per square foot in Toronto as of 2026; where the repair sits in a bathroom, laundry, or other moisture-prone room, moisture-resistant board is a cheap resilience upgrade at $24 to $30 per sheet against $11 to $15 for standard.
A full ceiling makes sense when damage is scattered across a room or a patchwork would show. At that point the smart move is upgrading while it is open: insulation above top-floor ceilings, better lighting, proper vapour management in basements. If the flood has you rebuilding a finished basement anyway, fold the repair into a planned basement renovation — our basement cost guide shows what full-room refinishing budgets look like.
Remember the painting line: every scope above ends with priming the repair with a stain-blocking primer and repainting the full wall or ceiling plane, or the repair will telegraph forever.
Insurance Claims: Document Before You Repair
If the damage is more than a small patch, slow down before demolition — the order of operations affects your claim.
Photograph everything first: the wet ceiling, the standing water, the failed fitting, the damaged contents, with timestamps. Keep the failed part if a plumber replaces it; adjusters ask. Mitigation — stopping the water, drying, preventing further damage — is expected of you immediately and is claim-friendly. Permanent repairs made before the adjuster assesses can complicate or shrink a settlement, so the right sequence is mitigate, document, call the insurer, then repair.
Understand the sudden-versus-gradual line, because it decides most drywall claims: a burst pipe (sudden and accidental) is typically covered, while the slow drip that stained the ceiling over six months is often treated as a maintenance issue and denied. That is one more reason to investigate stains when they are small. Policies differ — sewer backup and overland water are usually separate endorsements — so confirm your own coverage rather than assuming.
When the claim settles and rebuild time comes, use a licensed, insured contractor and keep the paper trail. We have rebuilt water-damaged rooms across Toronto and the GTA since 2004, our work carries a 2-year workmanship warranty, and quotes are free through our contact form — including honest advice on whether your ceiling needs a patch or a rebuild.
Ready to start your renovation?
Our team is here to help you bring your vision to life. Get a free, no-obligation quote today.
Get Free QuoteFrequently Asked Questions
Clear answers to the questions Ontario homeowners ask most.